How to set up WiFi on msOS?
To set up WiFi on msOS, you will need to have local access to the rig. There are two ways you can set it up: either by using msOS GUI or directly from the msOS console.
Updating from msOS GUI
You can access the GUI of the rig in two different ways, but it always needs to be from the local network:
- Open http://YOUR_RIG_LOCAL_IP - for example, http://192.168.0.2
- Open http://YOUR_WORKER_NAME.local - for example, http://worker001.local
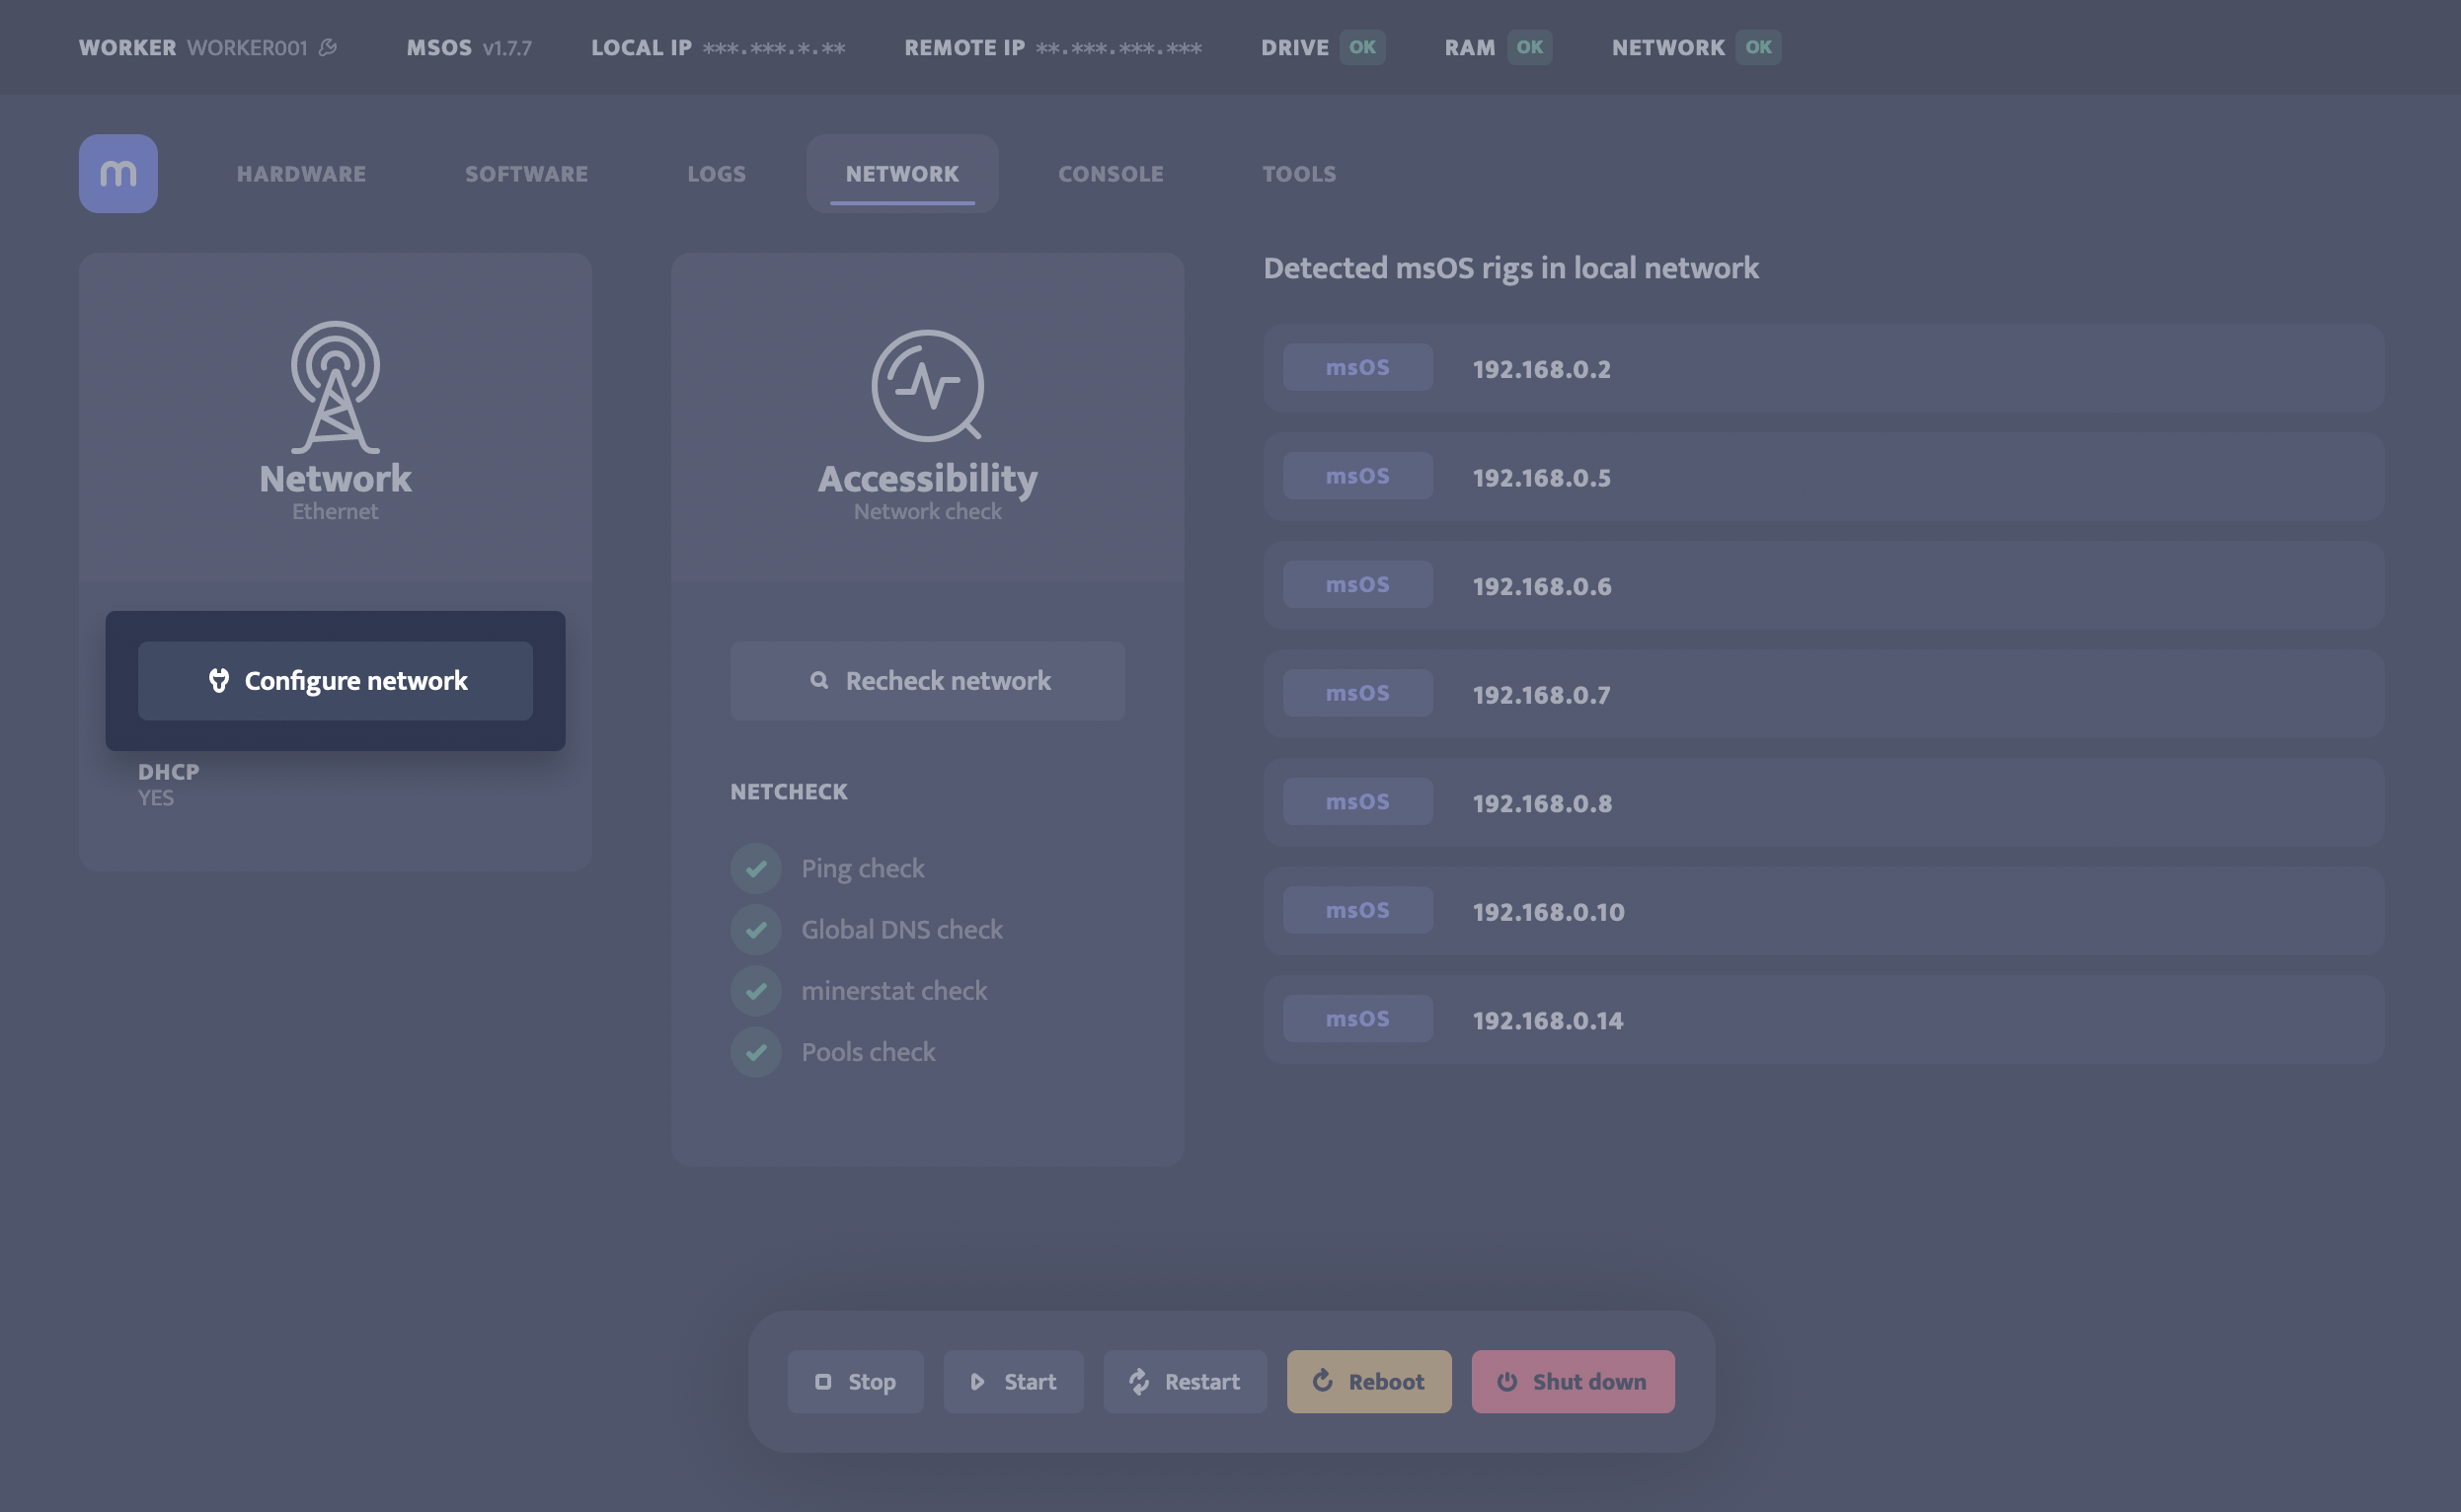
Navigate to [Network] tab and click [Configure network] under Network tile.
A pop-up with network configuration will open. Enable WiFi and enter your credentials. Keep in mind that both WiFi username and WiFi password need to be without any special characters and spaces.
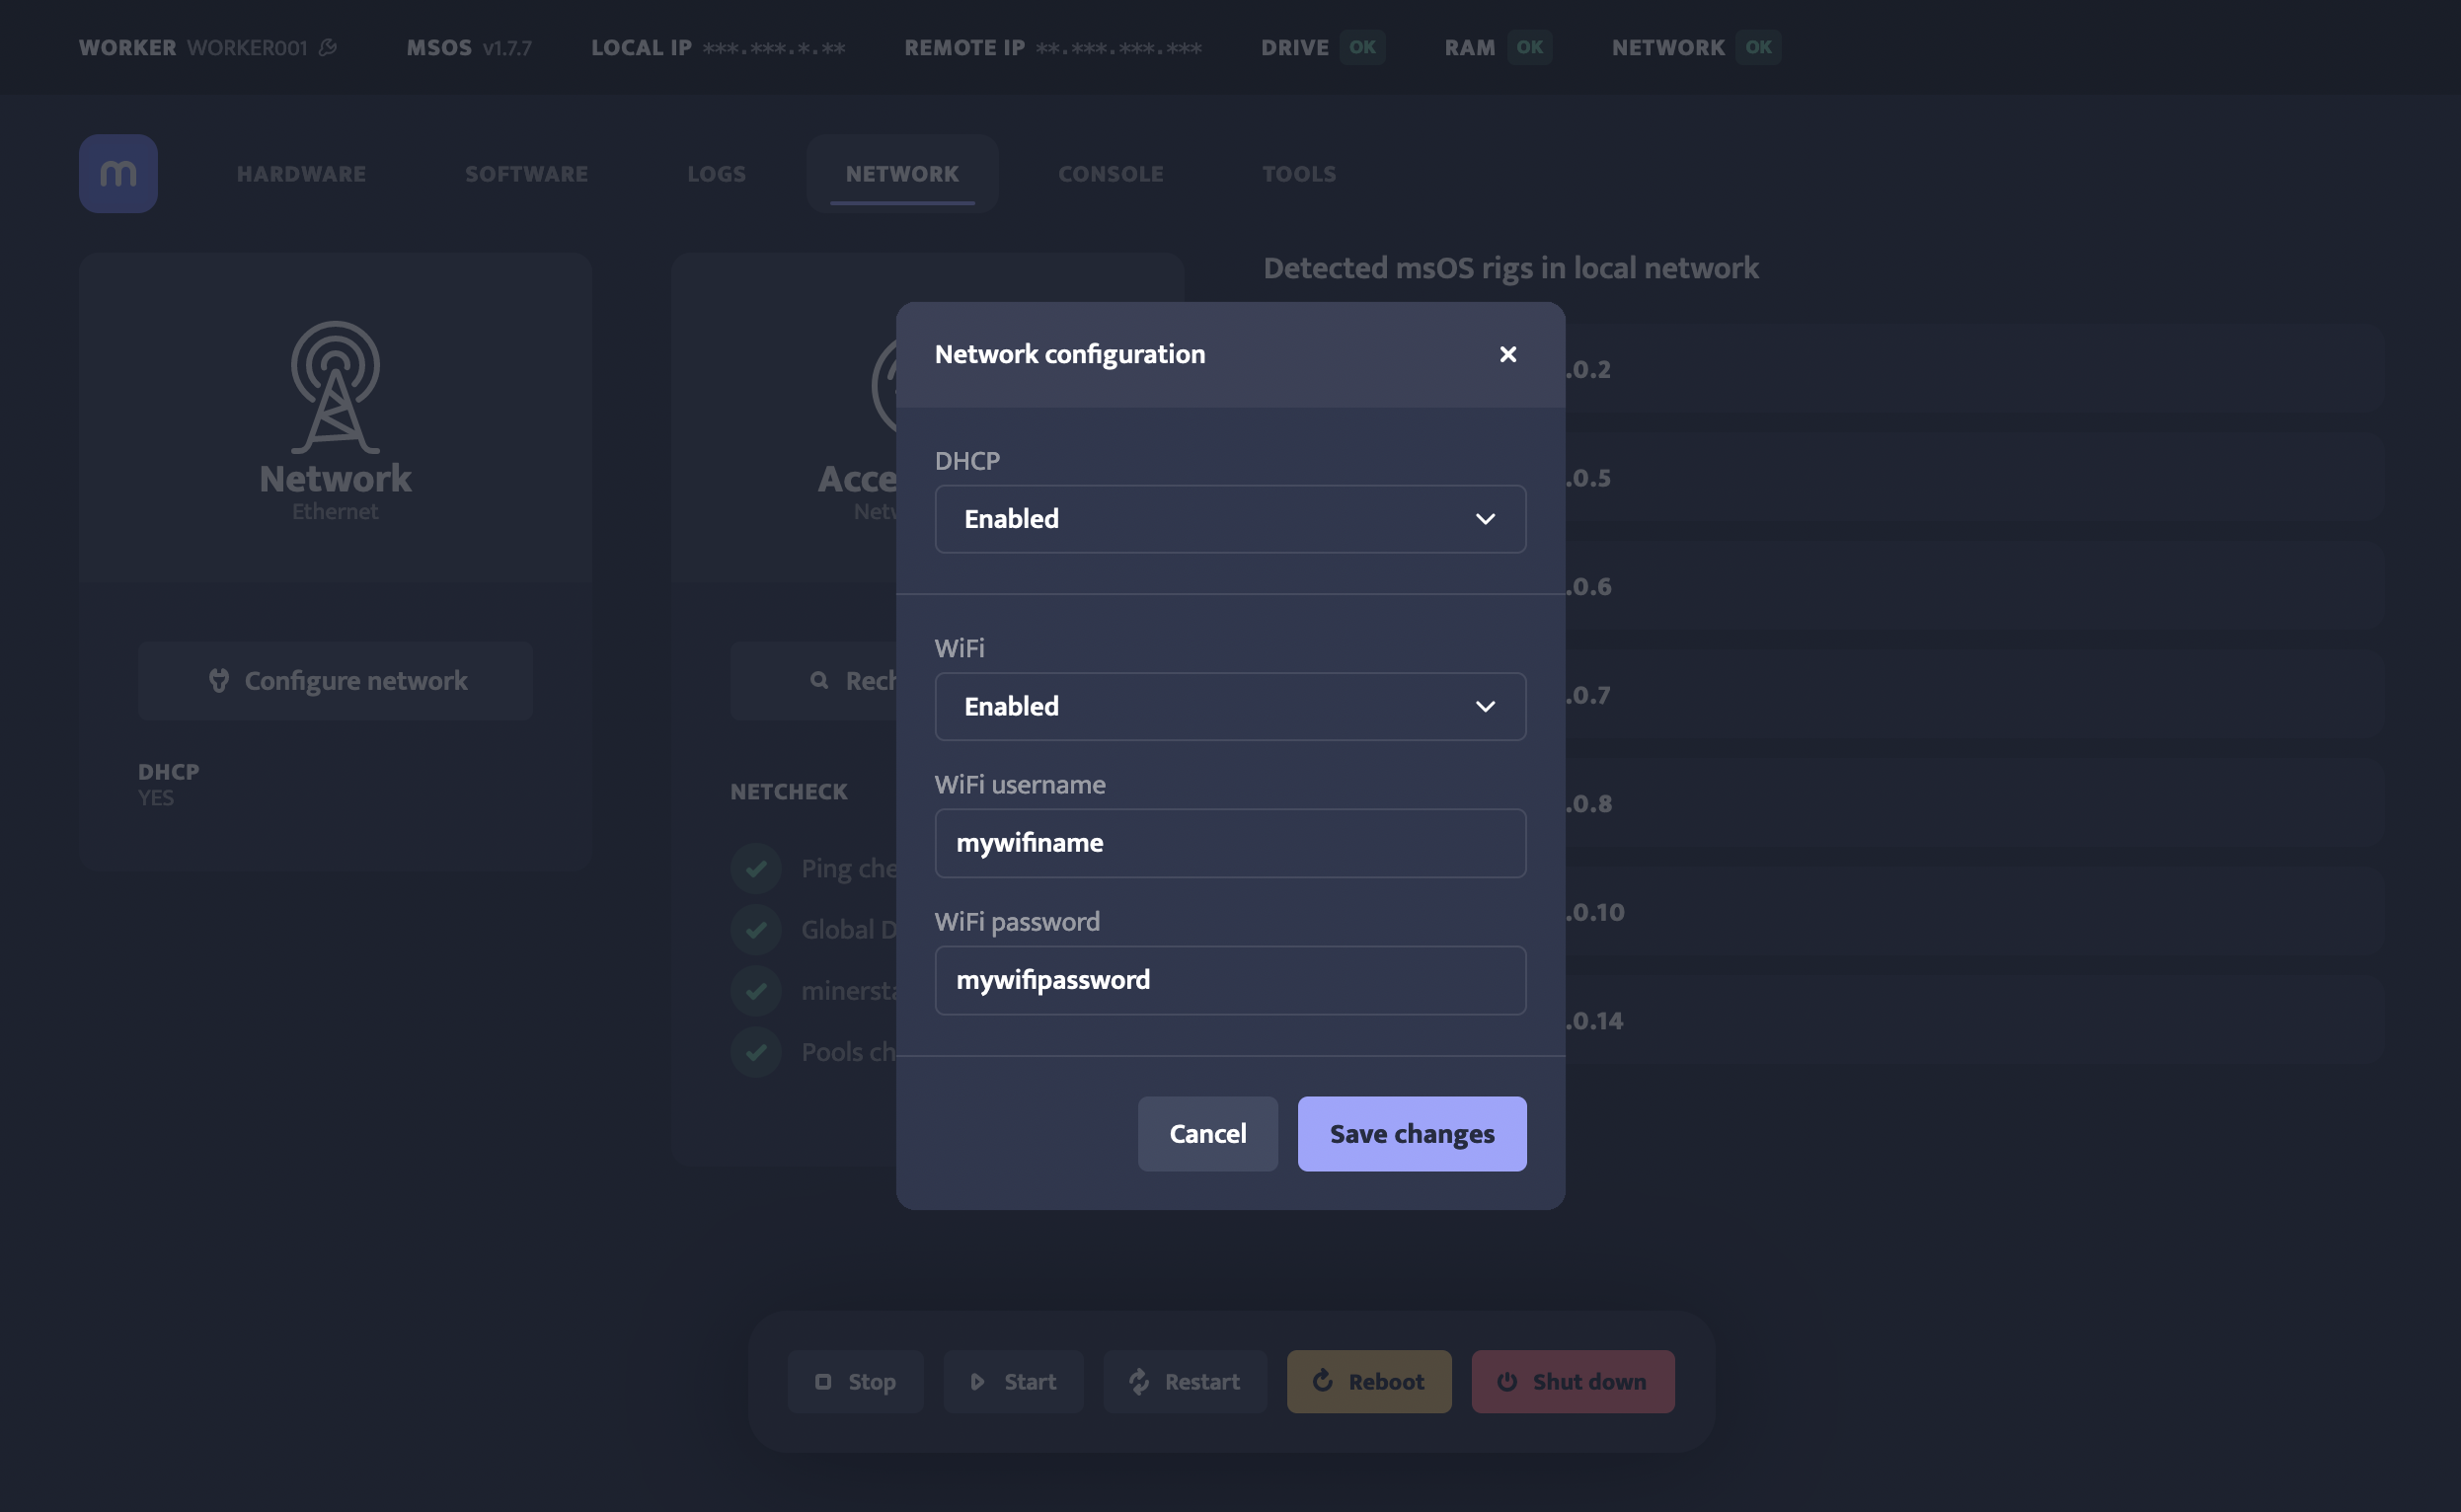
Click on [Save changes] to configure the network settings.
If you want to disable WiFi or set up static IP, gateway, and netmask, you can do it from the same popup.
Updating from msOS Console
You can access the console of the rig in different ways:
- Open http://YOUR_RIG_LOCAL_IP:4200 - for example, http://192.168.0.2:4200
- Click the console tab from the msOS GUI
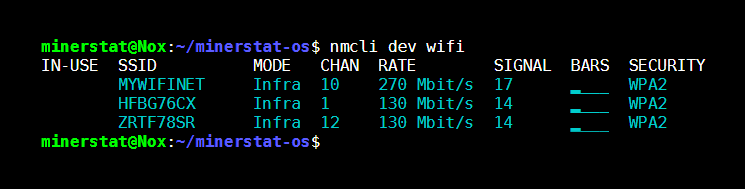
If your WiFi adapter is supported, you will be able to see it on the list of WiFi devices by using the following command in the remote console:
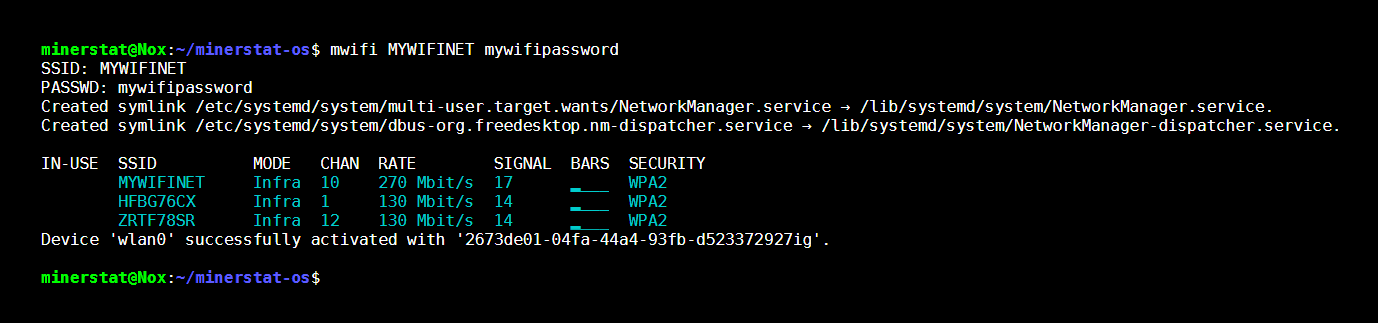
To set up your WiFi network, you will need to use the mwifi command:
Where mywifiname is the SSID of your WiFi network and mywifipassword is password of your WiFi network.
Limitations
- Make sure to use correct values as both SSID and password are case-sensitive.
- Make sure to avoid spaces and any special characters as
mwificommand does not support such usage. If your SSID or password are using special characters, you might need to use manual mode to update your WiFi network settings.
Manual update
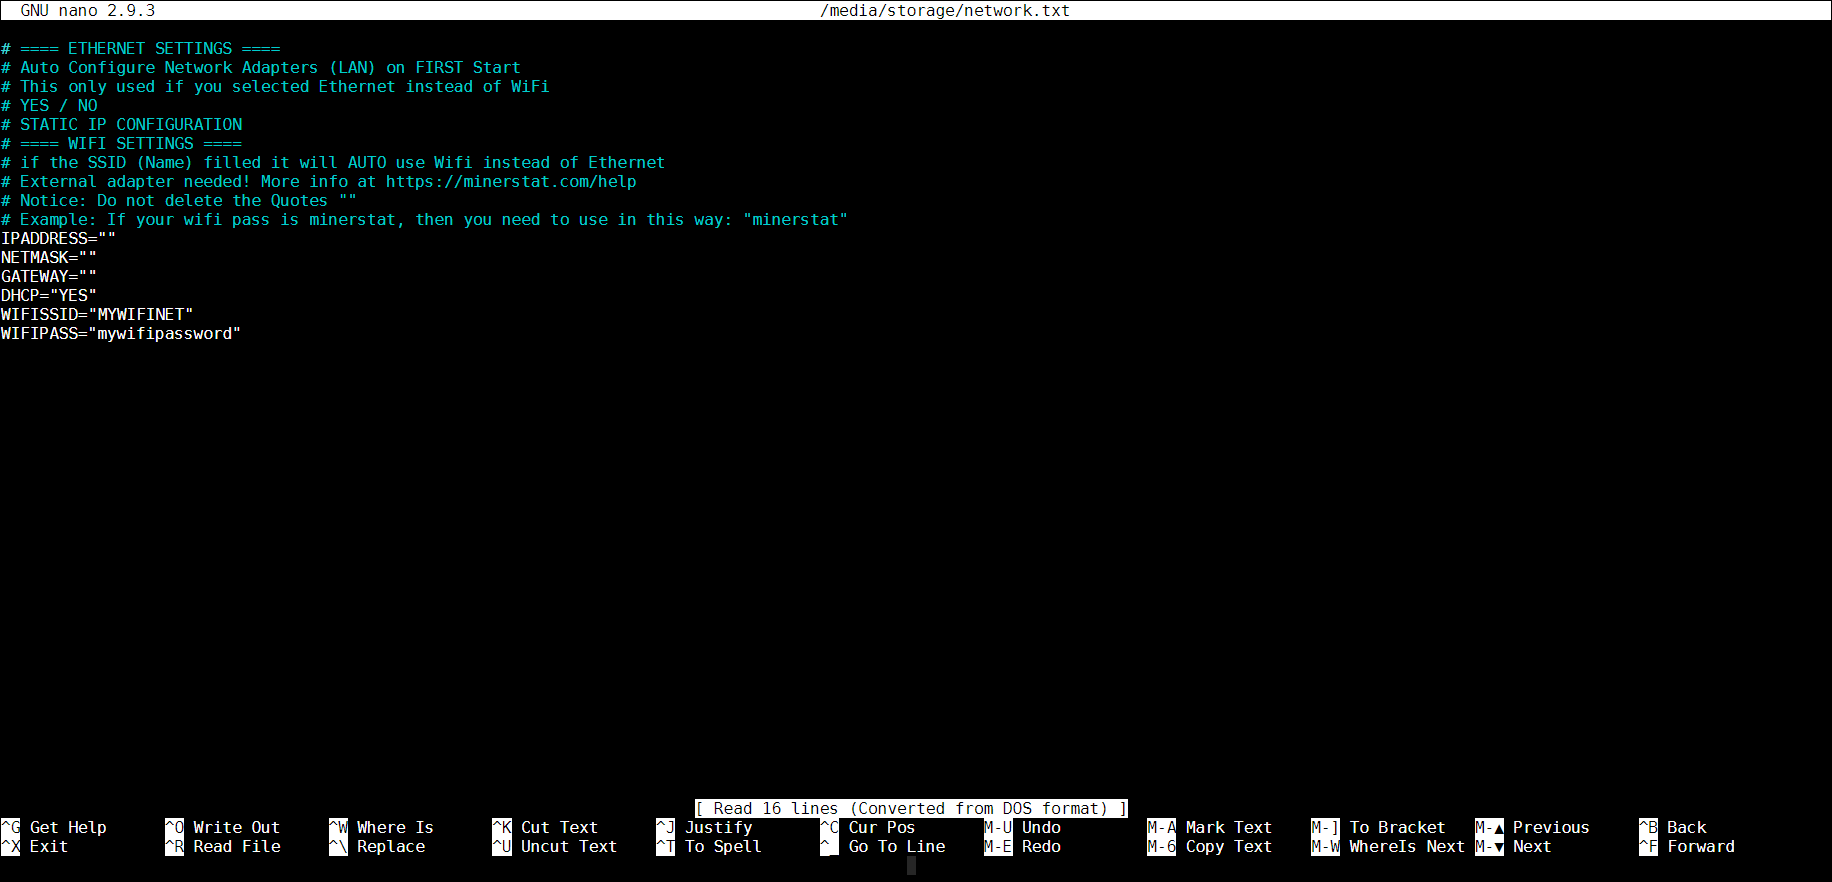
You can also set up the network settings manually by editing network.txt file. You can reach network.txt file by entering: sudo nano /media/storage/network.txt
Example of network.txt file
The first part of network.txt file are comments about the usage of network.txt file - they start with # character. To set up WiFi through network.txt you need to add the following two lines to the file.
WIFIPASS="mywifipassword"
Where mywifiname is the SSID of your WiFi network and mywifipassword is password of your WiFi network.
Save the file and exit it, then call the sync command to save changes to the drive.
Stop using WiFi
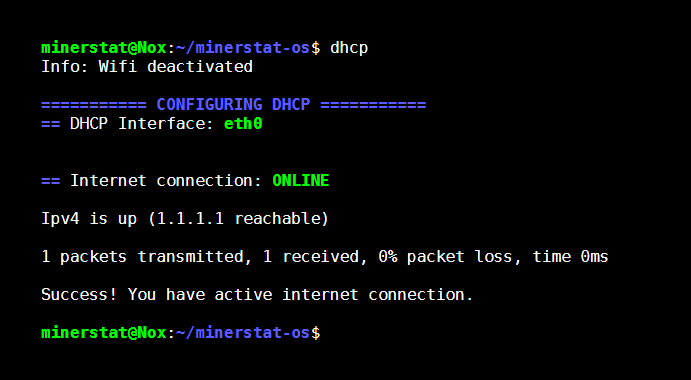
To stop using WiFi, you can use command: